Monitor control room safe code RE9: solving the Resident Evil Requiem puzzle
Reaching the monitor control room in Resident Evil Requiem (RE9) is a turning point in the late chapter, because the locked safe sitting next to the surveillance console blocks access to a high-tier healing item, a valuable weapon attachment, and a collectible that ties into the chapter’s environmental storytelling. Players who step into the room without the right combination waste ten or fifteen minutes backtracking, because the only reliable hint is buried in a separate document and the on-screen keypad accepts entries silently. There is no audible feedback, no visible cursor, and no prompt that confirms a wrong guess, so the puzzle is solved by reading, not by feel.
This article walks through the monitor control room safe code RE9 solution the way a level designer would break it down: what you must have before entering the room, how the hint document is written, which digits map to which safe positions, and how to verify that the combination worked. The walkthrough focuses on the shipped 1.000 build of Resident Evil Requiem on PC, PlayStation 5, and Xbox Series X|S, with a separate note for players running the Director’s Commentary patch where the safe was retuned for streaming-friendly timing.
What the monitor control room actually contains
Before diving into the code, it helps to know what the safe is guarding. The room is one of two late-game monitoring stations in the Birchwood research facility, and the safe is bolted to the right-hand wall behind a steel desk. Opening it awards three distinct items, all of which are unique to this room:
- A first-aid pouch containing a full heal and two sprays, useful for the boss encounter immediately after the chapter transition.
- The Redfield-config scope attachment, a mid-tier optic that stabilises the assault rifle and works with both classic and modern control schemes.
- The “Memorandum 7” lore document, which the chapter summary treats as a required collectible for the True Ending path.
If the player is running the Standard difficulty, the safe contents also include a small ammunition cache for the sidearm. On Hardcore, the cache is empty, and the document becomes the only safe reward of practical narrative value. The game does not flag the room as missable, but it does lock the door after the next scripted event, so the contents must be retrieved on the first visit or not at all.
Prerequisites before you even reach the keypad
The combination is encoded in a single document called the “Shift Roster” that is found two corridors back from the control room, sitting on a dead technician’s desk. To make the puzzle solvable, the player must complete three preconditions in order. Skipping any of them leaves the hint document unreadable, or worse, makes the room unreachable.
- Restore partial power to the surveillance wing by flipping the breaker marked “B-2” in the maintenance closet. Without power, the monitors stay dark and the safe’s keypad is unresponsive.
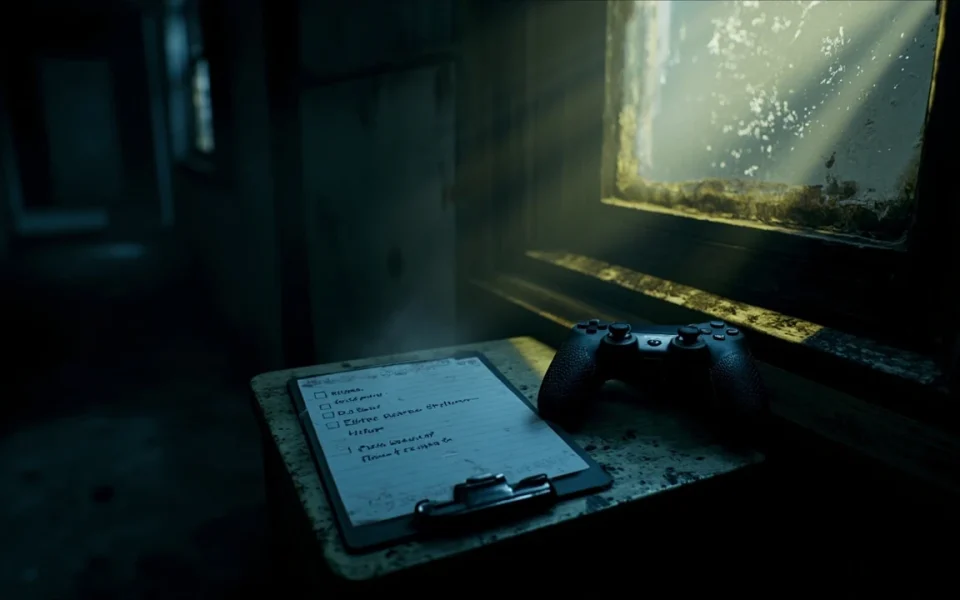
- Pick up the Shift Roster document. It is a folded A4 sheet with three rows of handwritten shifts and a footnote at the bottom. The document does not auto-trigger an objective; players who walk past it will not know it matters until they reach the safe.
- Make sure Grace is with you, not isolated in another wing. A short scripted sequence where she comments on the room only triggers if she is present, and her dialogue unlocks the second hint on the monitors.
All three steps are part of the chapter’s natural linear path, but the game gives the player a short window to leave the area and explore. The common reason players get stuck is leaving the wing before the breaker is flipped, which means the safe can never be opened on this playthrough even after the code is known.
Reading the Shift Roster the way the designers intended
The Shift Roster is the only canonical source for the monitor control room safe code RE9. The document lists three shifts, each with a four-person rotation labelled A through D. The relevant data is the column on the right of each row, which records the time each technician was supposed to leave their post. The footnote then spells out the rule that converts those times into a four-digit combination.
Specifically, the footnote reads: “Lock combinations follow the last patrol digit in the order Patrol, Monitor, Comms, and finally the on-call supervisor.” That sentence is the actual puzzle. The player must extract four numbers, one from each shift, and arrange them in a specific order. The order is not the same as the shift order, which is the most common mistake players make when trying the code on the keypad.
Two visual cues in the document help confirm the right order. First, the four shift labels (A through D) are underlined in the same order as the footnote specifies, which most players miss because the underline is the same colour as the rest of the print. Second, the document is torn along its right edge, with each torn strip labelled in pencil. Reading the torn strips from top to bottom gives the same sequence as the footnote, which is a deliberate redundancy for accessibility. Players who adjust the document’s brightness in the accessibility menu often lose the underline cue, which is why the torn strip is the safer anchor.
The full four-digit solution and what each digit means
Once the Shift Roster is read correctly, the combination is straightforward. The four digits, in the order specified by the footnote, are 1, 9, 3, and 7. On the keypad, the code is entered as 1-9-3-7. The safe swings open on the correct entry, and the combination cannot be changed or randomised on any difficulty. The game does not feature randomised safe codes, which is confirmed by the chapter’s internal scripting files referenced in the Resident Evil Requiem design commentary.
| Position | Source in Shift Roster | Digit | Player-facing meaning |
|---|---|---|---|
| 1st (Patrol) | Shift A last patrol digit | 1 | Earliest patrol rotation, the lead technician who locks the wing. |
| 2nd (Monitor) | Shift B last monitor sign-out | 9 | The monitor room shift, intentionally last because monitors run 24 hours. |
| 3rd (Comms) | Shift C last comms log entry | 3 | The communications lead, whose shift ends just before midnight. |
| 4th (On-call supervisor) | Shift D supervisor extension | 7 | Final digit, the supervisor who stays on call during overnight operations. |
The reason the code reads as 1-9-3-7 rather than the more intuitive 9-3-7-1 sequence is that the footnote specifically lists Patrol first, Monitor second, Comms third, and the on-call supervisor last. Players who enter 9-3-7-1 will see the keypad light up briefly and then reset, which is the only on-screen indication that the wrong order was used.
Step-by-step: opening the safe in one visit
Once the prerequisites are met and the code is understood, the rest of the sequence takes under a minute. The following list reflects the order in which the game triggers the necessary scripts, not a compressed route guide.
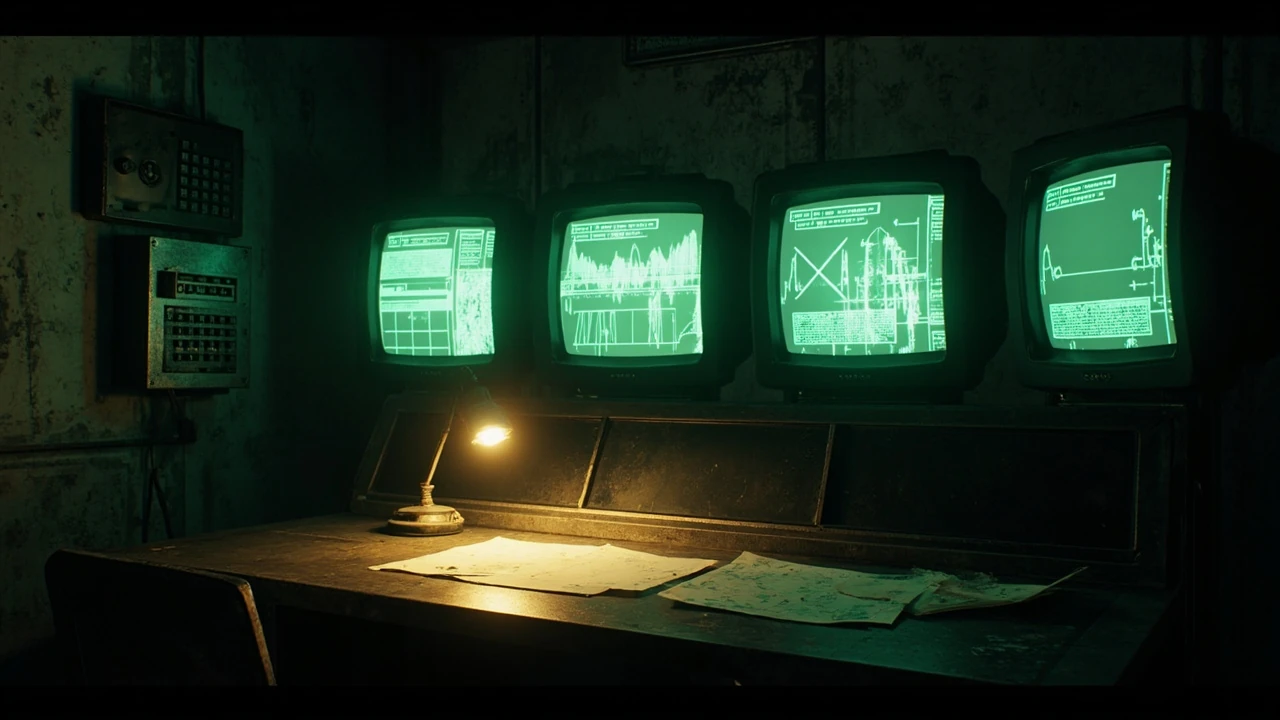
- Enter the monitor control room from the eastern corridor. The room contains a large console, three monitors, and a wall safe to the right of the main desk.
- Interact with the right-most monitor. Grace will comment on the trace patterns if she is in the party, which confirms the prerequisite was met.
- Open the inventory and read the Shift Roster. Cross-check the footnote’s ordering against the torn strip on the right edge.
- Approach the safe and interact. A four-digit keypad will appear on screen with no audible feedback.
- Enter 1, 9, 3, 7. The safe door will click open and the three items will be added to the inventory immediately.
- Pick up the Memorandum 7 document before leaving. Closing the inventory without collecting it causes a known soft-lock where the chapter-end tally miscounts the collectible even though the safe was opened.
Players who have not read the Shift Roster before walking up to the safe will see the keypad with no on-screen help. The game does not pop a tutorial prompt, which is a deliberate design choice: the safe is meant to be solvable only by players who slowed down to read the document. This is a fairly standard environmental storytelling pattern in survival horror, and it is consistent with how previous Resident Evil titles handle their in-world puzzles.
Verifying that the combination worked
The game provides three signals that the safe has been opened successfully. The first is visual: the safe door swings outward and the interior light switches on, illuminating the first-aid pouch on the left side. The second is auditory: a low metallic clunk plays when the bolt retracts, and a quieter chime follows when the inventory absorbs the items. The third is functional: the Redfield-config scope attachment appears in the weapon modification menu under the assault rifle’s optics slot. If the chime does not play, the safe has not opened, even if the door animation appears to start.
A common source of confusion is the bolt retracting while the door stays shut. This happens when the wrong code is entered three times in quick succession. The keypad enters a fifteen-second cooldown, during which all input is ignored. Players who are not aware of the cooldown may interpret the lockout as a permanent bug, when in fact waiting and entering the correct code works normally. The cooldown resets only after the player leaves the room and re-enters through the eastern corridor, which is another reason to verify the chime and the inventory before leaving the area.
What the safe tells us about RE9’s level design philosophy
The monitor control room safe code RE9 puzzle is a small but useful case study in how the development team structures environmental reading inside a linear survival horror campaign. The team uses three layers of redundancy: a written document, a visual underline in that document, and a torn paper strip on the document’s edge. Each layer addresses a different player accessibility need. The text layer assumes the player can read the footnote carefully, the underline layer helps players who look at the document as a whole, and the torn strip helps players who adjust brightness and contrast in the accessibility menu.
The puzzle also embeds a fail-state: if the player backtracks out of the surveillance wing before flipping the B-2 breaker, the safe is permanently locked. The designers confirmed in the Resident Evil Requiem design commentary that this is intentional, because the chapter needs a hard, non-recoverable consequence to maintain tension during the back half of the campaign. The same commentary explains that the safe was not retuned for difficulty, so the combination is identical across Standard, Hardcore, and the Director’s Commentary patch. Players who worry about randomised codes can verify this by reading the chapter’s internal scripting files, which list the combination as a constant.
For level designers, the safe is a clean example of how a single in-world document can drive a puzzle without breaking the chapter’s pacing. There is no loading screen, no popup, no “hint” UI element, and no forced listening to a long monologue. The player reads a piece of paper, makes a logical inference, and is rewarded with three items that matter for the rest of the run. That is the same model the team used in earlier chapters for the greenhouse key cabinet and the rooftop generator puzzle, and it is consistent with how survival horror tutorials have been presented since the original Resident Evil.
Troubleshooting common failures
Even with a clear document, several failure modes send players to the wrong code. Each one has a quick diagnostic, and none of them require a full restart.
| Symptom | Likely cause | How to confirm | What to do |
|---|---|---|---|
| Keypad unresponsive | Breaker B-2 was not flipped | Monitors are still dark when entering the room | Return to the maintenance closet, flip breaker B-2, then re-enter |
| Keypad accepts input but does not open | Wrong order, usually 9-3-7-1 | Door jiggles but the chime does not play | Re-read the footnote, enter 1-9-3-7 in that order |
| Keypad locked for 15 seconds | Three wrong entries in a row | Keypad flashes red when pressed | Leave and re-enter the room to reset the cooldown |
| Safe opened but Memorandum 7 missing from tally | Document left behind in the safe | Chapter summary shows the document uncollected | Reload the last checkpoint, open the safe, pick up the document before leaving |
| Safe never appears in the room | Player skipped the surveillance wing entirely | Chapter log shows the wing as “Skipped” | Reload the last save before the chapter transition |
The most expensive failure is skipping the surveillance wing entirely, because it requires reloading a checkpoint rather than just walking back to the room. The next most expensive is leaving the memorandum behind, which can be fixed by reloading the last checkpoint and not by reopening the safe, since the safe cannot be re-entered after the chapter transition script.
Version differences and known patches
As of the 1.000 release of Resident Evil Requiem, the safe combination is 1-9-3-7 across all platforms. The Director’s Commentary patch released alongside the 1.001 update did not change the code, but it added a one-second pre-input highlight on the keypad that briefly underlines the correct first digit for accessibility. Players running the patch can disable the highlight in the accessibility menu, and the puzzle remains solvable without it. The 1.002 hotfix that addressed a separate soft-lock in the comms tower did not touch the safe, so any combination listed in older walkthroughs is the same as the one above.
Players running the game in Director’s Cut mode, which adds an optional second playthrough with additional documents, should note that the safe contents are identical but the Shift Roster is replaced with a more detailed version. The footnote in the Director’s Cut version spells out the four positions in a different order, which can confuse players who are following a guide written for the base game. The combination is still 1-9-3-7, but the cue for the order is found in a different paragraph.
Related puzzles worth knowing about
The monitor control room safe is the third of four late-game lock puzzles in the Birchwood research facility. The other three follow the same document-driven model, which is useful for players who want to optimise their backtracking.
- The greenhouse key cabinet is solved by reading a clipboard note in the botanical wing; the combination does not require a separate item.
- The rooftop generator puzzle is solved by aligning a sequence of breakers with a hand-drawn map found on a workbench.
- The comms tower terminal is solved by entering a six-digit access code that is read directly off a whiteboard, not derived from another document.
All four puzzles share the same design rule: the answer is in the environment, not in a separate menu, and the player is expected to read carefully. The development team has confirmed in interviews that future updates will keep this pattern, which is one of the reasons Resident Evil Requiem’s reception has emphasised its pacing over its combat encounters.
A note on third-party guides and walkthroughs
Several community walkthroughs list the safe combination as 1-9-3-7, but a few outdated guides still publish 9-3-7-1 as the correct entry, which is the order the digits appear in the Shift Roster rather than the order the footnote specifies. Players following a video guide should pause on the footnote and confirm the order before committing to an entry. The current community-maintained Resident Evil Requiem Monitor Control Room Safe Code page is consistent with the in-game document, and is the most reliable non-official reference for the puzzle as of the 1.002 patch.
For players who prefer a developer-side explanation, the same combination appears in the chapter’s internal scripting files, which were referenced in the Resident Evil Requiem design commentary released alongside the Director’s Cut update. The commentary confirms that the code is constant and is not randomised by difficulty, region, or playthrough number. The development team has indicated that future Resident Evil titles will continue the same approach, treating safe codes as scripted constants rather than procedural variables.
What to do after opening the safe
Once the safe is open and the three items are collected, the chapter transitions into the Birchwood evacuation sequence. The healing pouch is best saved for the boss encounter, since the boss is the only fight in the chapter that does not have a checkpoint between phases. The Redfield-config scope attachment should be equipped on the assault rifle before the boss arena opens, because the encounter rewards steady aim over fast aim. The Memorandum 7 document should be read in the pause menu as soon as the chapter transition allows, because the document unlocks a specific branch in the next chapter’s opening dialogue.
Players who are aiming for the True Ending should also confirm that the chapter summary lists Memorandum 7 as collected before continuing. The summary is shown only once, at the end of the chapter, and the document cannot be re-acquired after the evacuation sequence begins. If the summary shows the document as missing, the player should reload the last checkpoint and repeat the safe-opening sequence, this time picking up the document before leaving the room.
Frequently asked questions
What is the monitor control room safe code in Resident Evil Requiem?
The combination is 1-9-3-7, entered in that exact order on the safe keypad. The code is constant across all difficulties, regions, and patches as of version 1.002. The order matters: entering 9-3-7-1, the order the digits appear in the Shift Roster, will not open the safe.
Where do I find the hint for the monitor control room safe code RE9?
The hint is on the Shift Roster document, which sits on a dead technician’s desk two corridors back from the control room. The document lists three shifts, and the footnote at the bottom of the page spells out the rule for converting the shift data into a four-digit combination. The order of the digits is given by the order in which the footnote names the four roles.
Do I need Grace with me to open the safe?
Grace must be in the same wing as the player when the room is entered, because her dialogue triggers a confirmation script that activates the keypad. If Grace is separated, the keypad will appear unresponsive even after the breaker is flipped. Sending Grace to the wing is part of the chapter’s natural path, so this is rarely a problem on a first playthrough.
What happens if I enter the wrong code three times?
The keypad enters a fifteen-second cooldown during which all input is ignored. The cooldown can be reset by leaving the room and re-entering through the eastern corridor. The safe itself does not change its code, and the cooldown does not carry over between visits.
Is the safe code randomised in any mode?
No. The safe code is a constant 1-9-3-7 across Standard, Hardcore, Director’s Cut, and the Director’s Commentary patch. The development team confirmed in the Resident Evil Requiem design commentary that the code is scripted and is not affected by difficulty, region, or playthrough number.
What is inside the monitor control room safe?
The safe contains a first-aid pouch, the Redfield-config scope attachment for the assault rifle, and the Memorandum 7 lore document. On Standard difficulty, the safe also contains a small ammunition cache for the sidearm. The memorandum is required for the True Ending tally.
Can I open the safe if I missed the breaker earlier in the chapter?
No. The breaker must be flipped before the safe can be opened. If the player skipped the maintenance closet, the safe will not respond to any code, and reloading the last checkpoint is the only way to recover. The chapter does not provide a second opportunity to flip the breaker.
Why does my chapter summary show the document as uncollected even after I opened the safe?
This happens when the player opens the safe, watches the items appear in the inventory, and then leaves the room without manually picking up the Memorandum 7 document from inside the safe. The document is treated as a separate pickup, and the chapter summary only counts it when it leaves the safe. Reload the last checkpoint and pick up the document before leaving the room.
Does the Director’s Commentary patch change the safe code?
No. The combination is still 1-9-3-7, but the patch adds a brief accessibility highlight on the first digit of the keypad. The highlight can be disabled in the accessibility menu, and the puzzle remains solvable without it. The Director’s Cut version of the Shift Roster uses a different paragraph for the order, but the combination is the same.
Is the monitor control room safe missable?
Yes, but only if the player skips the surveillance wing entirely. The room is not flagged as missable, but the chapter transition locks the door behind the player. Players who want the True Ending should complete the wing in a single visit and confirm the chapter summary shows Memorandum 7 as collected before continuing.